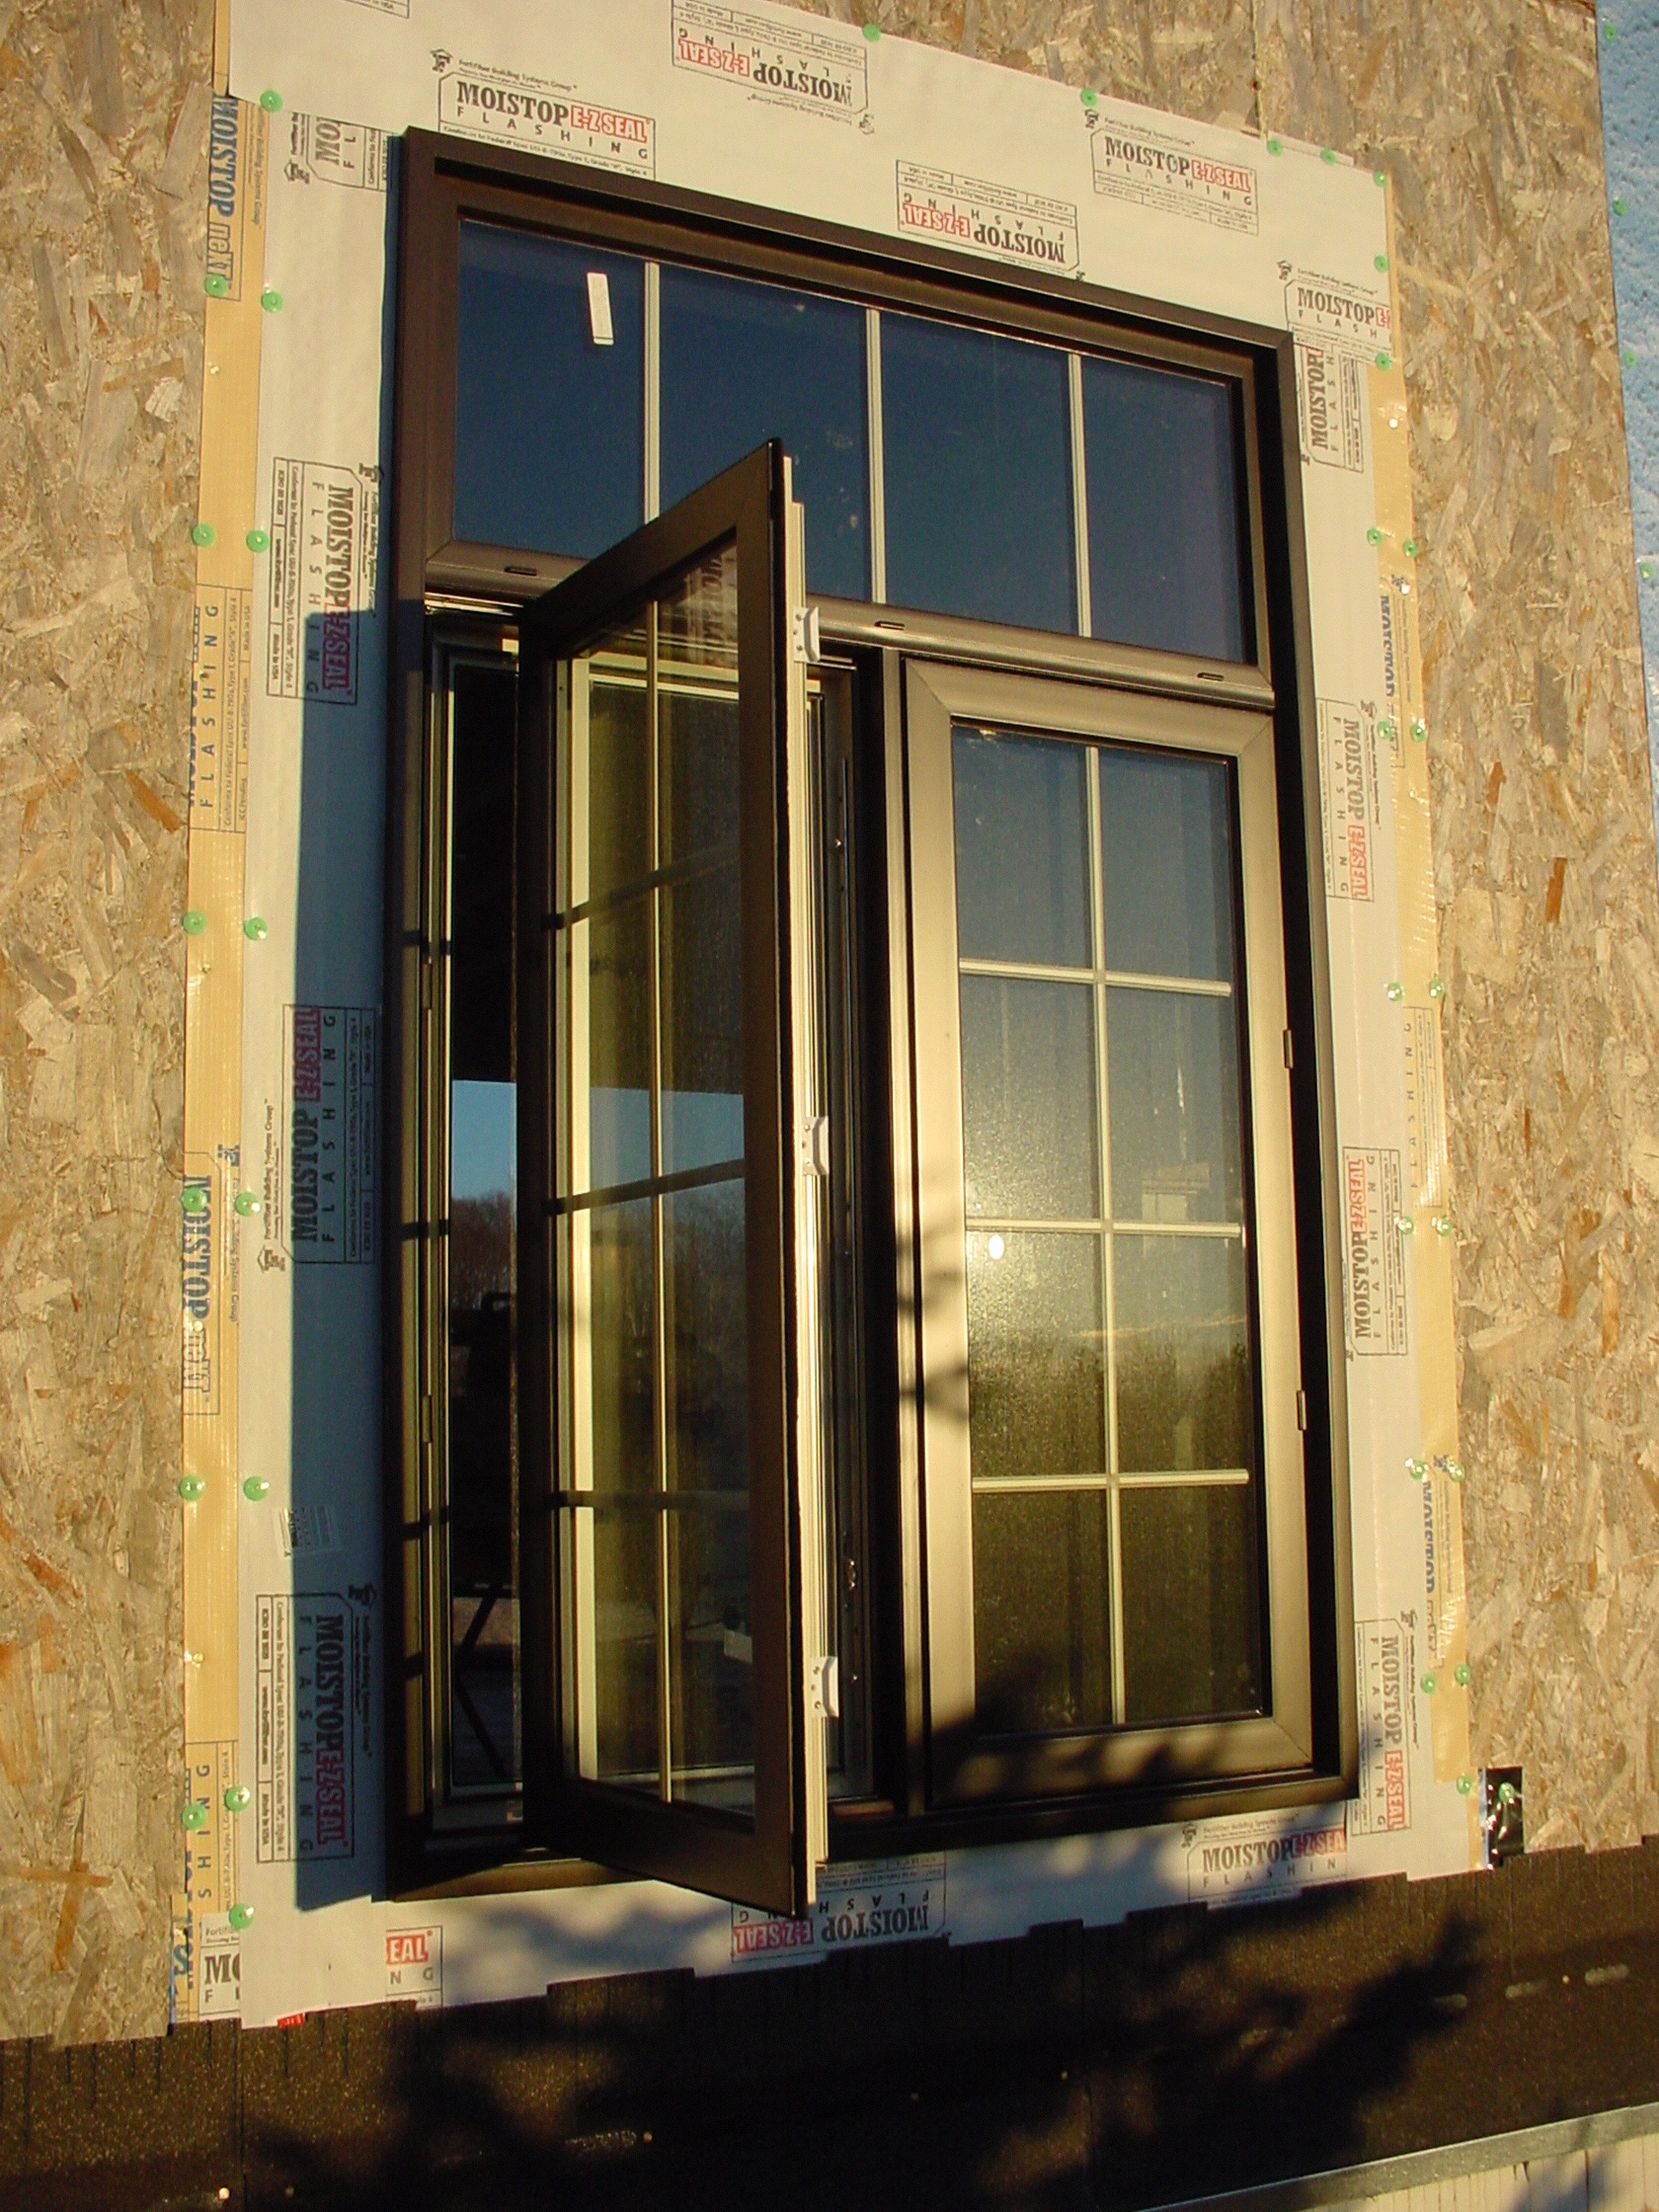
 New and replacement windows are something every contractor has to deal with, but windows are unique because they have a powerful potential to cause trouble. A lot can go wrong with installations, not all of which is even the fault of the windows themselves. That’s why it pays for you to learn how to steer clients away from questionable window choices and towards ones that you know won’t cause trouble. Use the three-part process here and call-backs for windows won’t be one of the headaches you need to deal with.
Step 1: Educate your client
Probably the No. 1 issue with new or replacement windows is condensation. Homeowners see their precious new windows sweating on the inside during cold weather and they immediately think the windows are faulty or you are. Uninformed clients get especially ornery when they pay good money for replacement windows, only to find that condensation is actually worse than with the old ones. “What’s the matter with you, Mr. Contractor?” they might say (or think). “Can’t you even install windows correctly?”
The fact is, if a modern double or triple pane window sweats, it’s a sign that indoor humidity levels in the home are too high in winter. And the better those new windows seal, the less outside air will get into the house, the higher indoor humidity levels will get, the worse condensation will be at a given outdoor temperature. This is why condensation is often at least a little bit worse (sometimes much worse) after new replacement windows are installed with better sealing. There’s less natural ventilation (AKA, drafts). Tell your clients all this before the new windows go in and you’ll have a much better chance of leading them to an actual solution to window condensation (an HRV always works), instead of just being a lightning rod for misplaced blame.
Step 2: Install only independently tested windows
These days there’s no need to guess when it comes to recommending windows your client can count on. This is especially true here in Canada because of something called www.windowwise.ca (800-813-9616). It’s a certification program created by the Siding and Window Dealers Association of Canada (SAWDAC) and it includes a list of specific window products that meet physical certification standards. Besides poor energy performance, weak window design can cause no end of trouble for you as a contractor. And yes, modern windows do sometimes have design flaws right from the factory. Buy us a beer and we’ll tell you how we know this.
Step 3: Install windows right
Even with cans of spray foam on every building site these days, it’s still possible to install windows badly. In fact, as good as spray foam is, it can actually lead to the nasty problem of window binding. Even so-called “low expansion” spray foam is often strong enough to bow windows inward so they won’t open or slide properly when that foam is fully expanded and hard. You can eliminate any chance of window binding with these three installation details:
- Only use spray foam made for window and door installation: This type delivers the least amount of expansion pressure. Ordinary low expansion foam is often still too strong for safe window installation;
- Install wooden props or spreader clamps to brace window jambs so they can’t bow inwards under foam pressure: The larger the window, the more important props are. Also, be sure to leave the props in place for at least 24 hours after foam injection. Foam will continue to expand a bit for a while, even after it is hard. I use Quick-Grip clamps with reversed jaws as spreader clamps for window installation props; and
- Inject foam in stages: Shoot an inch or so of foam into the farthest recess of the gap between window and rough frame, then move on to the next window and do the same. By the time you’re done all the windows, that first little shot of foam will be getting hard after expansion is complete. Only then do you add more foam. If the window jamb is wider than four inches, fill the gap completely in three separate passes. Incremental foam injection greatly reduces the chance of inward window bowing.

Leave a Reply